Sunday, November 29, 2009

French Silk Chocolate Pie


I love chocolate and I love pie so why not find a recipe to combine the two?! I saw this recipe in a Cook's Country cooking magazine and decided to make it for Thanksgiving this year. I used a store bought pie crust and baked it according to the package directions as the pie crust needs to be cooked before you put the filling in.

All in all I thought it was very good but maybe almost too chocolaty - if there is such a thing. ;) The recipe calls for 8 oz of chocolate but I think 6 oz would have been just fine. This was easy and delicious - definitely give it a try!

Ingredients:
1 cup heavy cream
3 large eggs
3/4 cup sugar
2 Tablespoons water
8 ounces bittersweet chocolate, melted and cooled
1 Tablespoon vanilla extract
8 Tablespoons (1 stick) softened unsalted butter, cut into 1/2 inch pieces (I just used salted) ;)
1 (9 inch) pie shell, baked and cooled

Directions:

Whip cream to stiff peaks with electric mixer, about 2-3 minutes. Refrigerate.

Combine eggs, sugar, and water in large heatproof bowl (or double boiler) over medium saucepan filled with 1/2" of barely simmering water.


With electric mixer on medium speed, beat until egg mixture is thickened and registers 160 degrees, 7-10 minutes.

on

Remove bowl from heat and continue to beat egg mixture until fluffy and cooled to room temperature, about 8 minutes.


I put the mixture into a larger bowl then added the chocolate and vanilla to the egg mixture and beat until incorporated.


Beat in butter, a few pieces at a time until well combined.


If you so choose, let your child lick the beaters. ;)


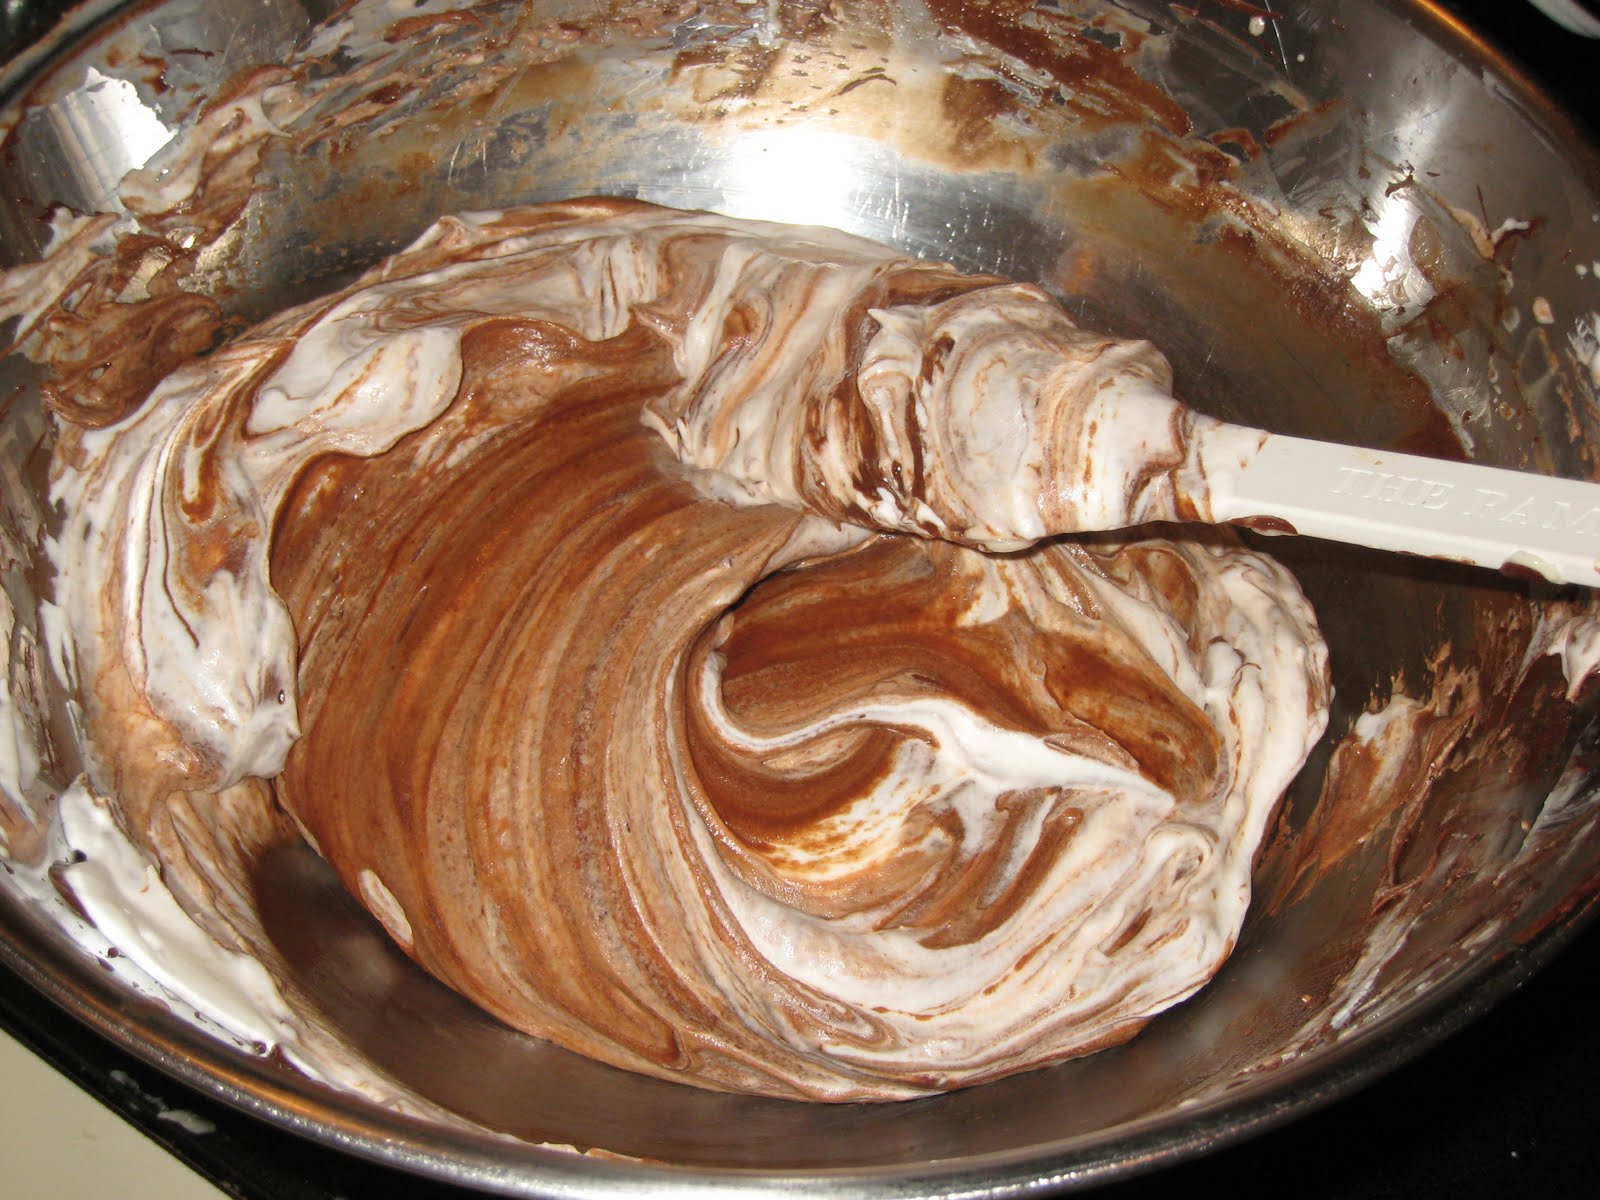
Using a spatula, fold in whipped cream until no streaks of white remain.


Scrape filling into pie shell and refrigerate until set, at least 3 hours and up to 24 hours.


Enjoy!

Tuesday, November 24, 2009

English Toffee Take #1

I plan on trying another toffee recipe this week so stay tuned for which one we like best!


I've been invited to a cookie exchange this year and have decided to give making toffee a try this holiday season. There are so many different recipes out there and honestly I was intimidated. I've never made any sort of candy before, except peanut brittle with my mom when I was little and that didn't turn out very well! I read a lot of recipes & tips online before settling on a recipe. The recipe I chose is from Cooking for Engineers and is very simple with easy directions and great comments and tips from other readers.

This really was much easier than what I was expecting. The key is to have all of your ingredients out and ready to go before you start cooking.

Ingredients:
1 cup semi-sweet chocolate chips
1 cup sugar
1/2 cup chopped nut of your choice - almonds, walnuts or pecans
1 tsp vanilla
1/8 tsp salt
1 cup unsalted butter (I used salted butter and left out the 1/8 tsp salt)

Directions:

The toffee will start to harden after a few minutes of being off the heat so you'll need to have all of your ingredients measured and ready before you start cooking. Use a cookie sheet lined with foil and spray with non-stick cooking spray and have it close to where your stove is.


Select a small saucepan. Make sure the saucepan is large enough to contain about double the volume of the butter and sugar. As the mixture cooks, it will bubble and increase in volume - using too small of a pan may result in overflows.

Melt the butter in the saucepan with the sugar and salt plus a 2 tsp water over low heat. (Low heat is important to prevent separation later. Just be patient and let it melt together.) The extra water will make it easier for the sugar to heat evenly and melt together.


Once the butter has melted and blended with the sugar turn the heat up to medium. Stir the mixture constantly. The butter and sugar will bubble and foam as the water boils off. This can take several minutes because butter contains a decent amount of water. The volume of the mixture will increase dramatically at this point.


Once the water has boiled off, the mixture will collapse and thicken. The temperature will also start to rise again. The goal is to remove the pan from the heat once the mixture passes 300°F and before it reaches 320°F. Use an instant read thermometer or candy thermometer to keep track of the temperature as you heat and stir because the temperature can change pretty rapidly once the water boils off.


When the mixture reaches 300°F, remove it from the heat and stir in the vanilla extract. Pour the mixture onto your prepared baking sheet. Right after pouring, use a spatula (again silicone works best for working with toffee) to spread the toffee into a rough rectangular shape. Immediately sprinkle the surface with chocolate chips.


Wait a minute or so until the chocolate starts to melt a little then use your spatula to spread the chocolate. If the chocolate is still mostly solid, wait another minute before attempting to spread again.


Sprinkle the chocolate surface with the chopped nuts you've chosen. Lightly press down on the pieces that are barely touching the surface of the chocolate.


Let the toffee cool for about twenty minutes. Slip the pan into the refrigerator to cool down and set for at least thirty minutes. Remove from the refrigerator and peel the toffee from the foil. Break the toffee into chunks of the desired size and place into an airtight container. Keep the toffee stored in the refrigerator so the chocolate doesn't start to melt if the room gets too warm.


Both Jordan an I thought this was very good toffee. I have another recipe I'm going to try and I want to play with the cooking temperatures a bit. I'll keep you posted as to how things turn out!

Wednesday, November 18, 2009

Island Pork Tenderloin


This is one of my favorite pork tenderloin dinners. This one has a lot of steps but it really isn't hard. Don't let it intimidate you! I've been making this for a few years out of one of my Cuisine at Home magazines from 2004. The biggest thing about this meal is timing and hopefully I've explained it well enough so that won't be a problem! You serve the pork with Caribbean black beans & mango mojo salsa. I also serve it with some plain old white rice. ;)

Ingredients:
White rice
2 pork tenderloins, around 1 pound each

Island Pork Rub:
1 T paprika
1 T chili powder
1 T dried oregano
1 tsp kosher salt
1/2 tsp red pepper flakes

Mojo & basting sauce:
3/4 cup orange juice
2 T lime juice
1 T minced garlic
1 tsp kosher salt
1 habanero or serrano chile, seeded, minced
2 T honey
1 T olive oil

Mango mojo salsa:
2 cups diced mango
1 T chopped fresh cilantro

Black beans:
3 strips bacon, diced
1/2 cup diced onion
1/ cup green bell pepper, diced
2 T garlic, minced
1 can (30 oz) black beans, rinsed & drained
1/2 cup chicken broth

Alright! Now that you have your list of ingredients above lets get to the good stuff!

Directions:

Combine all spices for the pork rub. Trim loose fat from the tenderloins. Massage the rub into the meat. Place a cooling rack coated with nonstick spray on a backing sheet lined with foil. Set aside.


For the mojo and basting sauce:
Combine the orange & lime juice, garlic, salt & habanero. Set aside 1/4 cup for the Mango Mojo Salsa. Then whisk in the honey & olive oil. Set aside.

Directions for Mango Mojo Salsa:
Combine the mango, cilantro and reserved mojo. Refrigerate for up to an hour.


Now, once you've gotten to this point you are going to want to get the beans started.

Directions for black beans:

Saute bacon over medium heat for 5 minutes, remove from pan.

Add onion & pepper and saute in bacon drippings for 3 minutes. Stir in the garlic and saute 1 minute.

You are going to want to preheat your broiler to high and have the rack in the center of the oven at this point. I usually stop with the beans now and start again once the tenderloin is in the oven.

Stir in reserved bacon, beans, and broth; bring to a boil.


Reduce heat and simmer for 20 minutes. Season with salt & pepper. Serve beans with white rice.

Broil the pork for 3 minutes, baste with sauce, and broil 5 more minutes. Flip meat over, baste, and broil an additional 12-15 minutes, basting twice during that time.


When pork reaches 145 degrees in the thickest part, remove from oven, tent with foil and let rest for 5 minutes. Slice into 2 inch thick steaks. Serve with Mango Mojo Salsa.


Enjoy!

Monday, November 2, 2009

Beef, Bacon & Blues Wrap


When I first started cooking I would buy the small Betty Crocker & Pillsbury cookbooks that are for sale in the grocery store by the cashier. For the most part many of the recipes weren't anything that I really liked but there were a few that turned out nicely. This recipe happens to be one of them! It's from Betty Crocker and the first time I made this wrap I brought it as a picnic item for a concert in Koka Booth 5 years ago. I kind of forgot about it and hadn't made it since!

I made it today for the moms of a playgroup we do on Monday's. I wanted to make it last Friday for a little Halloween party I was having for the kids but I ran out of time and didn't end up making it. This time I bought half a pound of roast beef and it made 3 tortillas which was the perfect amound for what I needed.

Ingredients:

2 soft cracker breads, 15 inches in diameter or 3 flour tortillas (10 inch)
1 package cream cheese, softened
1 4 oz container crumbled blue cheese
1/4 cup milk
6 slices bacon, crisply cooked and crumbled
2 Tablespoons chopped fresh or 1 Tablespoon freeze-dried chives
1/4 tsp freshly ground pepper
1 pound sliced deli roast beef
2 cups lightly packed spring salad greens
2 medium tomatoes sliced thin.

Directions:

I use flour tortillas instead of the cracker bread and usually this recipe takes more than just 3. If you decide to use the cracker bread let them come to room temperature.

Mix cream cheese, blue cheese, milk, bacon, chives & pepper. (I didn't have time to make bacon this morning and it tasted just fine. It's definitely better with the bacon though. ;)

Spread some cream cheese mixture evenly over the bread or tortilla.


Layer the roast beef,


salad greens,


and tomatoes - in that order. (crumbled bacon goes on top of tomato)


Leave a few inches on one side covered with only the cream cheese mixture. Beginning at the side covered with the fillings, roll up tightly. Repeat with remaining tortillas or cracker bread and ingredients.

Cut ends without fillings from each roll. Cut remaining portion of each roll in 3-5 slices depending on the size of the rolls. Serve immediately or wrap securely and refrigerate. I wouldn't refrigerate much longer than 2 hours because the lettuce will start to wilt. Enjoy!